
Installation Instructions
(VIDEO)
Congratulations On Purchasing Your New Molar Media Mount!
Please check out the video for a quick overview. More detailed instructions with pictures are below.
Instructions
Universal Fit
The Molar Media Mount is customizable to fit on the vast majority of dental light systems on the market.
To correctly install your Molar Media Mount you will need to determine where on your dental light you are going to be mounting the bracket (this will determine which silicone inserts to use, and what length mounting screws you will need).
The most common position to mount is on the vertical pole/arm that is directly above the dental light.
The mounting bracket is designed to fit a wide assortment of pole shapes and sizes.
Most situations will require the 2mm thick silicone inserts that are pre-installed in the mounting brackets.
In some instances there is not a vertical pole above the light and you will need to attach the mounting bracket directly to your dental light, or some other location. Further instructions for this situation are located at the bottom of this page.


Choosing the correct length mounting screws
Included with your Molar Media Mount are many different screw sizes. Because every make and model of dental lights is different, you will need to determine which screw length best works with your situation.
You will need to hold the two sides of the mounting bracket in the position you will be mounting (usually you can hold it in this position with one hand). At this time, you can hold different screw sizes up to it to see which one is the right length.
You will want to err on the shorter side, because if you choose too long of a screw you can screw them right out the side of the mounting bracket (oops!).

Custom Arm Lengths
An extra shorter arm section is included for customized length adjustments based on your specific dental light setup.
Most setups won’t require this shorter arm. However, if mounting directly on the light, replace the middle section.
Ensure the arm's ball and socket joint aligns level with the light, avoiding any contact with the arm or tablet.

Tightening The Mount
Finger-tighten the thumb screws as you adjust the angles to find the best positioning for your setup.
Once positioned, use a coin or flathead screwdriver to securely tighten the joints for stability.
Regularly check the thumb screw tightness to keep the Molar Media Mount in the perfect spot—clear of your workspace, lighting, and within the patient’s view.

Mounting the tablet
Included with your Molar Media Mount are various screw sizes to fit different dental light models and mounting needs.
Hold the mounting bracket in the intended position, usually manageable with one hand, to test screw lengths.
Opt for shorter screws; too long a screw may extend through the mounting bracket and cause installation issues.
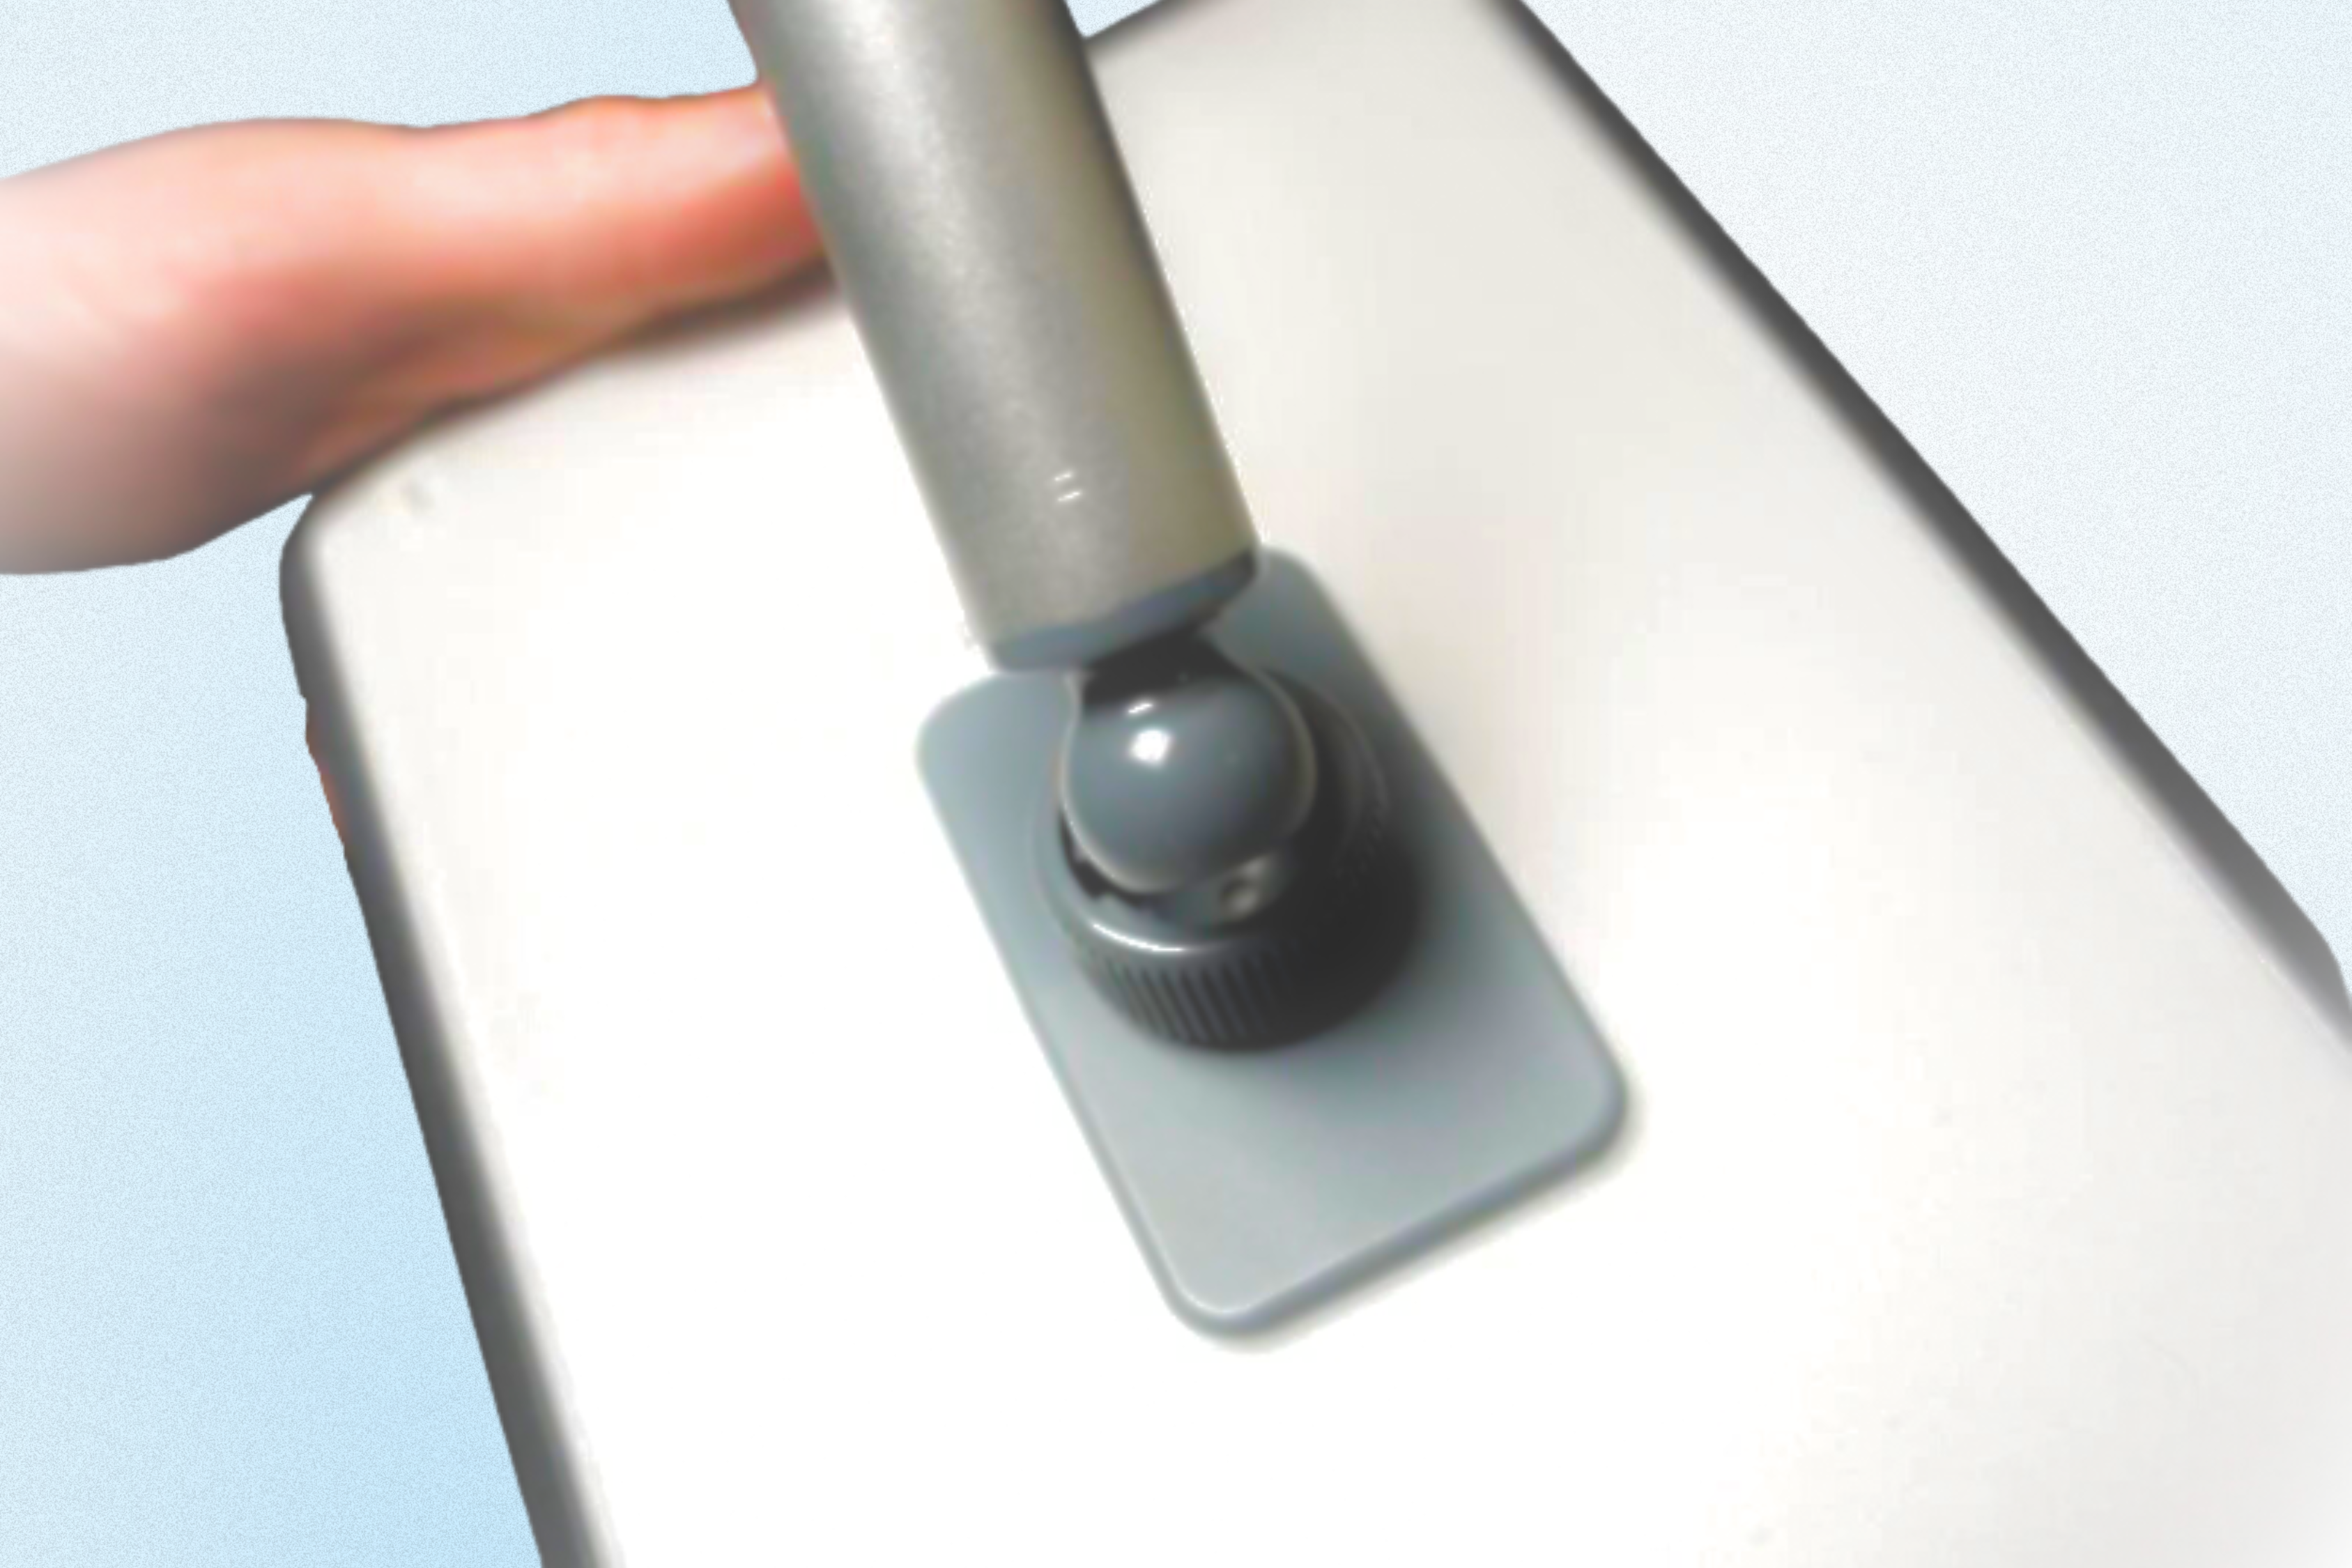
Connecting the Ball and Socket Joint
Loosen the Safety Screw a few turns until you can easily snap the ball and socket joint together. Then finger tighten the Safety Screw to lock the device in place. Be careful not to tighten this too hard, or you will have a hard time loosening it. Simply tighten down with medium force, this will prevent the ball and socket joint from coming apart, while still allowing you to properly position the device at different angles for ideal viewing by your patients.

Removing the Ball and Socket Joint
Loosen the Safety Screw a few turns (not all the way) and then rotate the joint to gently separate the device from the arm. It is important to support the arm while doing this so as not to put undue stress on the arm. After a few tries at this you will easily be able to remove and replace your media device in mere seconds.
Headphones
You may either use wireless Bluetooth headphones or wired headphones. It is recommended you use over the ear headphones to decrease outside noise to the patient. We have great ones available on our sight (see pic below).
If you prefer to use wired headphones, wire clips are included in the box. They direct the headphone cord up the arm, allowing the cord to hang onto the patients lap.


Reducing Glare
Different Mounting Locations
If no vertical pole is above the light, you’ll need to mount the arm directly onto the light itself.
This often involves removing the pre-installed silicone cushion and replacing it with one of the other two included silicone pieces.
Be sure to install the silicone on the side of the mounting bracket connected to the aluminum arm, where the Molar Media Mount name is displayed.


Small Diameter Mounting Poles
If your vertical pole is very small, you may have to replace the pre installed silicone cushion (on the side of the mounting bracket that has the Molar Media Mount name on it) and insert the thicker silicone insert into its place (see image). This thicker silicone insert will not be used by most consumers, but is included just in case.